Below are the steps and prerequisites to automate the applications in Mobile phone or Tablet.
Pre-requisites:
- User should be a member or admin of Tenjin online application.
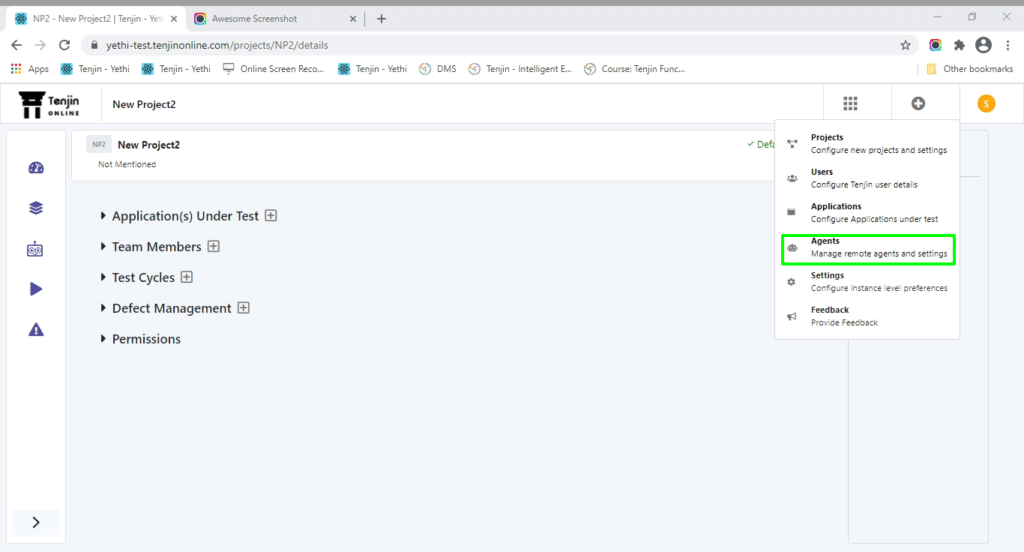
2. Install the agent which is present in Tenjin application as shown below.
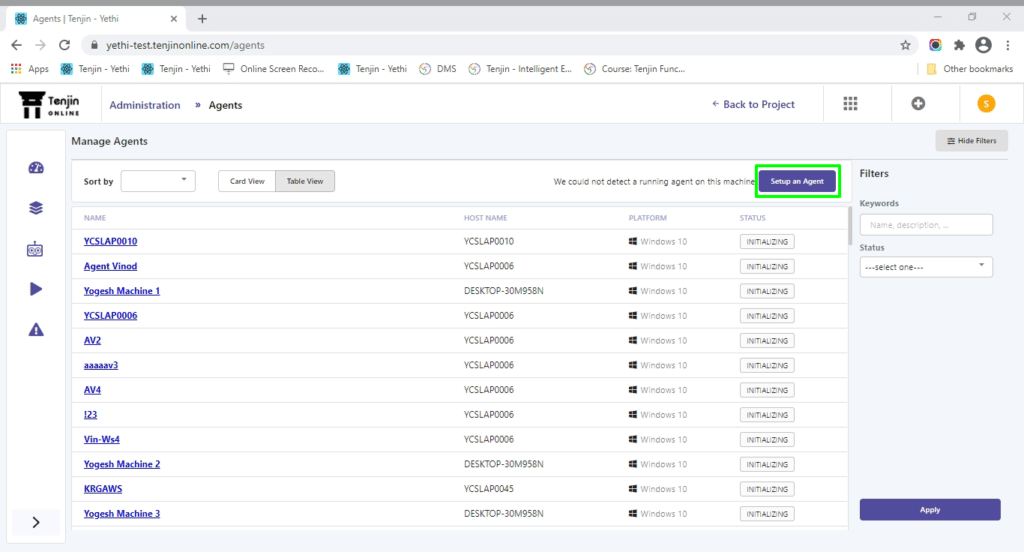
3. Click on “Setup an Agent” button.
4. Click on “Node.js” and select any versions and Install
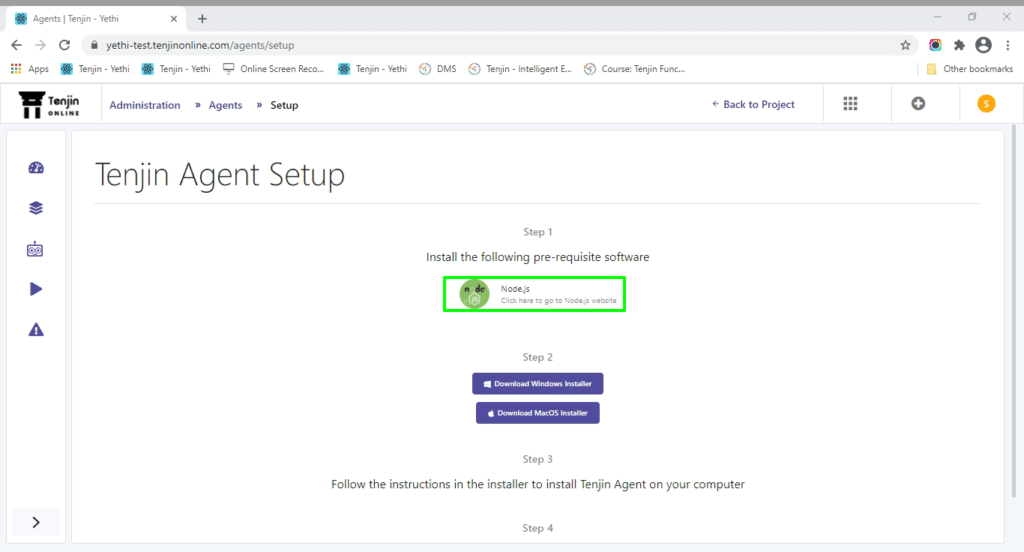
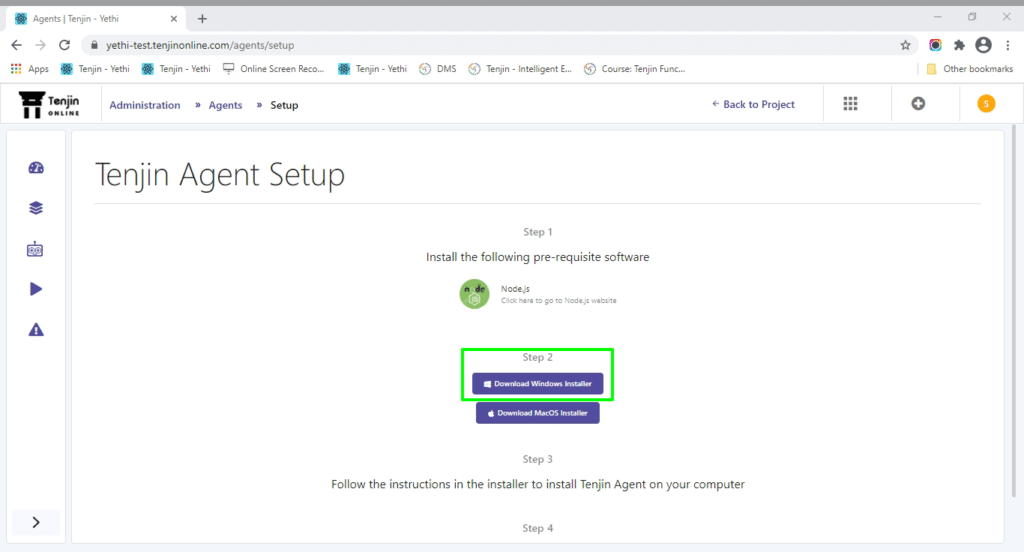
5. Click on “Download Windows Installer” button.
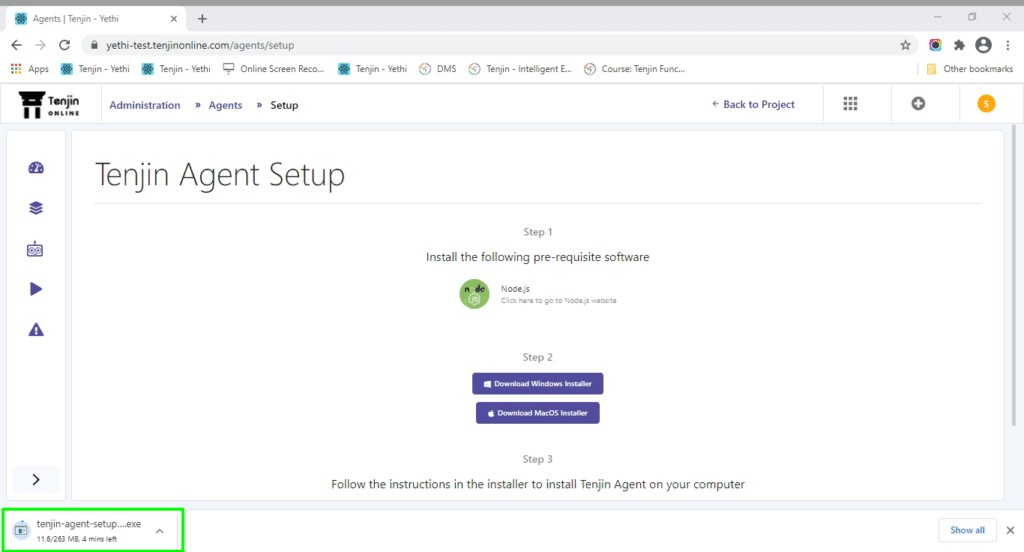
6. After downloaded the exe file and installer to install Tenjin Agent on your computer
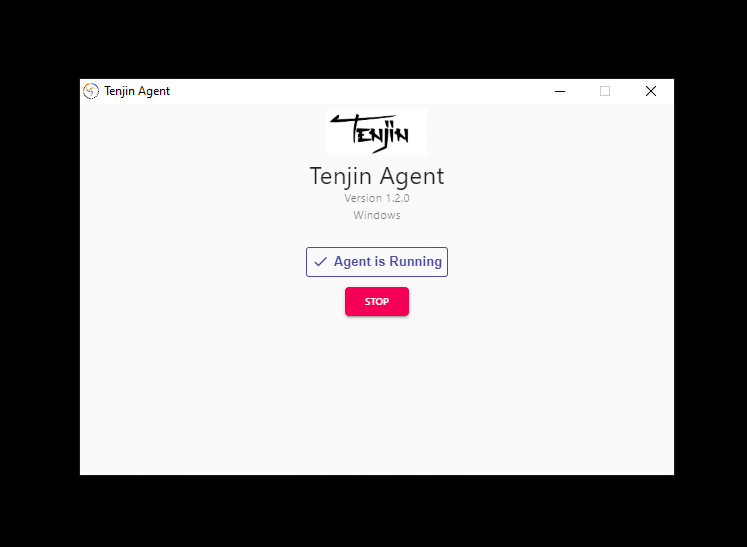
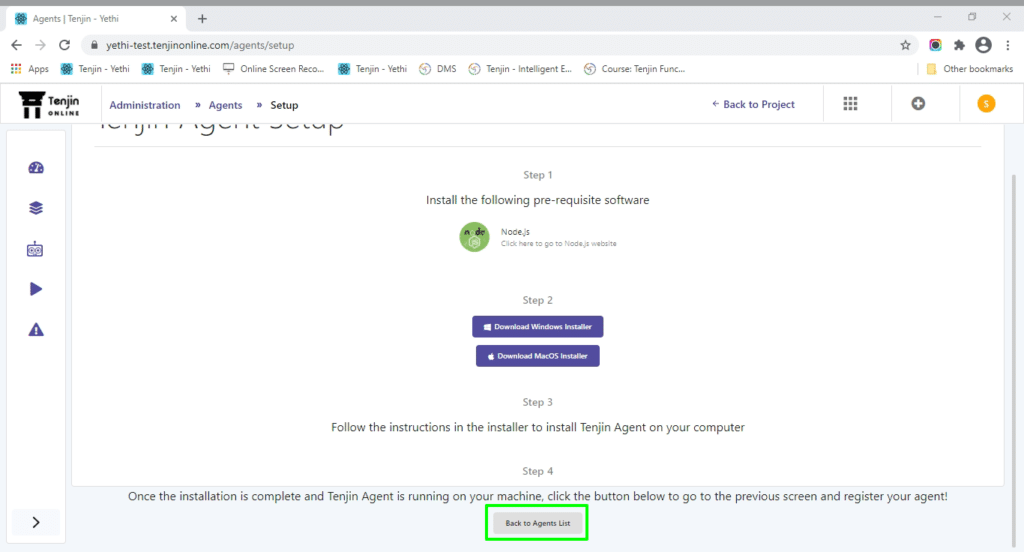
7. Once the installation is complete and Tenjin Agent is running on your machine.
8. Click the “Back to Agent list” button to go to the previous screen and Register your Agent
9. Click on “Register this Machine” button

10. Once after Agent is registered in your local computer and user can view the Register Agent Dialog box and enter the Agent name.

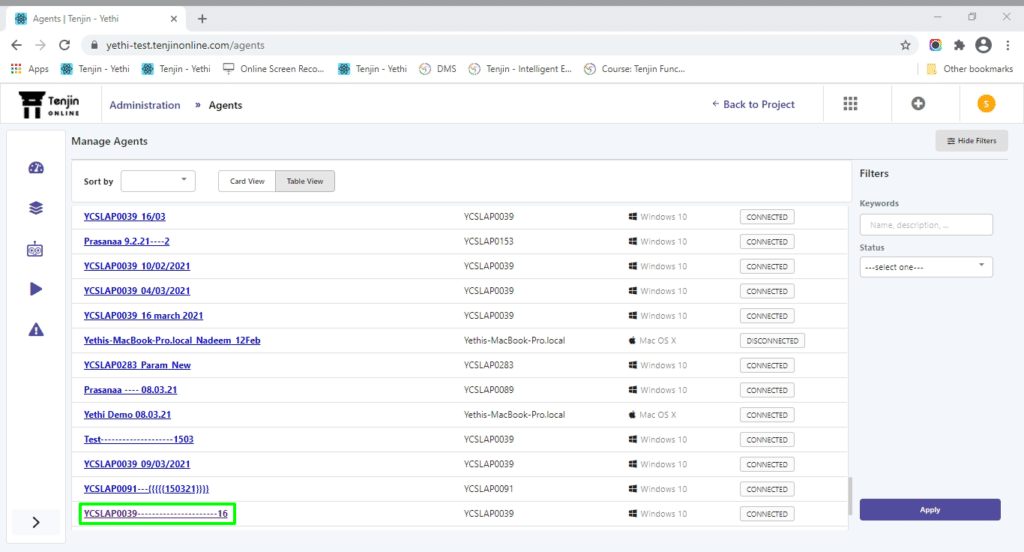
11. Once the Agent name is Registered, click on Agent name from the Manage Agents lists page.
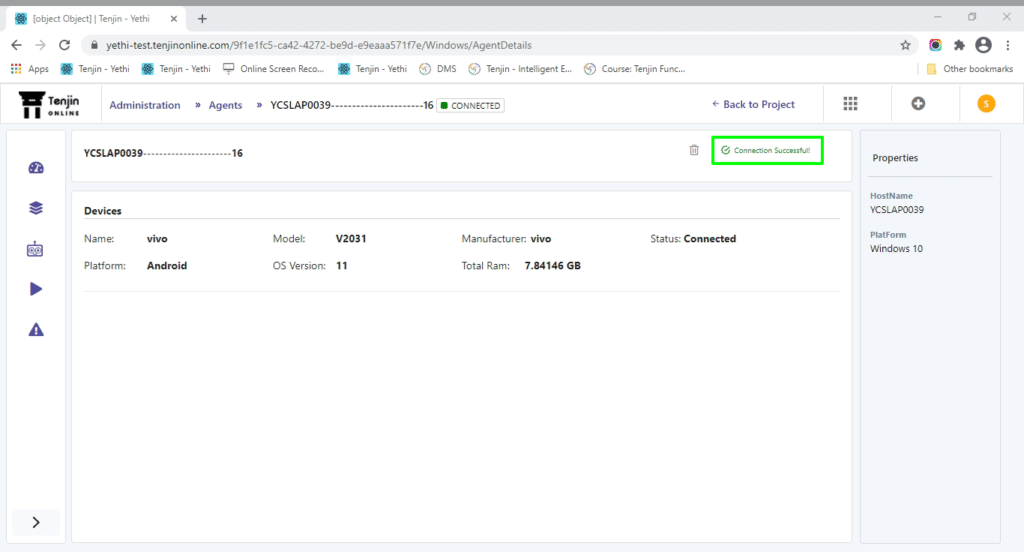
12. Click on “Test connection” to check the Agent is connected with Mobile device and user can view the message as “Connection Successful”.

Steps to Configure on device Developer Options:
Note: The list of developer options can vary between Android versions.
- Enable developer options and USB debugging:
- On Android 4.1 and lower, the Developer options screen is available by default.
- On Android 4.2 and higher, you must enable this screen. To enable developer options, tap the Build Number option 7 times. You can find this option in one of the following locations, depending on your Android version:
- Android 9 (API level 28) and higher: Settings > About Phone > Build Number
- Android 8.0.0 (API level 26) and Android 8.1.0 (API level 26): Settings > System > About Phone > Build Number
- Android 7.1 (API level 25) and lower: Settings > About Phone > Build Number
- At the top of the Developer options screen, you can toggle the options on and off You probably want to keep this on. When off, most options are disabled except those that don’t require communication between the device and your development computer.
- Before you can use the debugger and other tools, you need to enable USB debugging, which allows Android Studio and other SDK tools to recognize your device when connected via USB.
- To enable USB debugging, toggle the USB debugging option in the Developer Options menu. You can find this option in one of the following locations, depending on your Android version:
- Android 9 (API level 28) and higher: Settings > System > Advanced > Developer Options > USB debugging
- Android 8.0.0 (API level 26) and Android 8.1.0 (API level 26): Settings > System > Developer Options > USB debugging
- Android 7.1 (API level 25) and lower: Settings > Developer Options > USB debugging
NOTE: 1. While Launching the bot, Appium settings app will be installed automatically.
2. Java Version should be 1.8.


